Sending messages with apps has become a worldwide top use on mobile devices and messaging applications have become more ubiquitous.
In this blog post, we will share with you our experience with messaging applications built with React Native. It is worth mentioning this article is based on a real-life example for a client application we built at EMIKETIC.
Messaging is no longer a medium nor just a feature. It’s a realm for large tech companies that center their business case around messaging. Yet it still does beg the question: Shall I build my own feature, in-house development or integrate a 3rd party solution?
Generally, teams prefer to use an off-the-shelf messaging SDK solution. It’s the best way to reduce time-consuming efforts, increase performance and focus on the core content. This is why we opted for SendBird, which we believe is among the best messaging SDKs for React Native applications. The SendBird back-end is really a scalable, powerful and comes with a fully-documented chat API. SendBird makes integrating real-time chat to any (React Native) app as easy as pie.
SendBird features two fundamental family of APIs: Client APIs (including the React Native one), and a Platform API. The Platform API, which we will not cover in this article, allows to communicate with the SendBird back-end from our own back-end or server application (server to server communication), which is extremely handy if you want to trigger actions from your Rails, Meteor or Node app based on an event. Typical scenarios include push notifications or activity online/offline status update in the UI. For now, let’s discover the amazing client API step by step.
We’ll build a simple messaging app using React Native with SendBird’s JavaScript SDK.
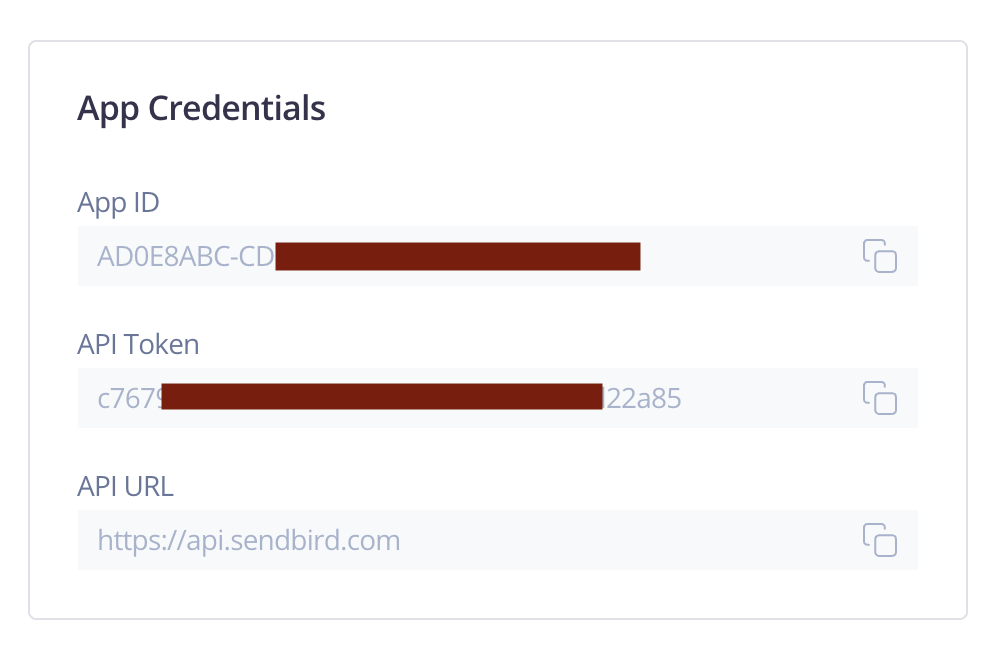
First, you’ll need to create a new SendBird application in the SendBird console.
Installation
In your React Native project folder, you need to run
npm install sendbird --save
Connect to SendBird
SendBird requires a UserID to connect or to create a new user account. The UserID can be any unique id, such as an email address or a database UID.
We do not need a separate registration process. SendBird creates for you a new account if you have not been registered yet, all you need is to specify your unique ID.
The first thing we’re going to need is a screen where the user can enter a userID and a nickname they want to appear as.
Let’s start creating a Sign in screen:
import React, { Component } from 'react';

import { Container, Content, Item, Input, Form, Button, Label, Text } from 'native-base';

type Props = {};

export default class LoginScreen extends Component<Props> {
  state = {
    email: '',
    nickname: '',
  };
  render() {
    return (
      <Container>
        <Content>
          <Form style={{ padding: 16 }}>
            <Input
              onChangeText={email => this.setState({ email })}
              placeholder="email"
              style={{ backgroundColor: '#fff', marginVertical: 16 }}
            />
            <Input
              placeholder="nickname"
              onChangeText={nickname => this.setState({ nickname })}
              style={{ backgroundColor: '#fff', marginVertical: 16 }}
            />
            <Button full onPress={this._connect(this.state.email, this.state.nickname)}>
              <Text>Connect</Text>
            </Button>
          </Form>
        </Content>
      </Container>
    );
  }
}
In this tutorial, we will use email as UserID and nickname to be displayed beside each message we send.
First, we have to import sendbird to our component:
import SendBird from 'sendbird';
Next, we should initialize SendBird using the APP_ID assigned to our SendBird application.
const sb = new SendBird({ appId: APP_ID });
Let’s write our first function using the SendBird functions connect() and updateCurrentUserInfo():
-
connect(): This is for sending a connection request and also used to create a new user account if the user has not been registered yet.
-
updateCurrentUserInfo(): A function called to update user’s nickname and profile image.
import SendBird from 'sendbird';

const sb = new SendBird({ appId: APP_ID });
// some code
export default class LoginScreen extends Component<Props> {
  // some code
 _connect(email, nickname) {
   const self =  this;
   sb.connect(userId, (user, error) => {
       if (error) {
           console.log('SendBird Login Failed.');
       } else {
           sb.updateCurrentUserInfo(nickname, null, (user, error) => {
               if (error) {
                   console.log('Update user Failed!');
               } else {
                 self.props.navigation.navigate('Home');
               }
           })
       }
   });
 }
 render() {
   return(
     // some code
   );
 }
}
connect() Should be returning a plain JavaScript object describing the user profile.
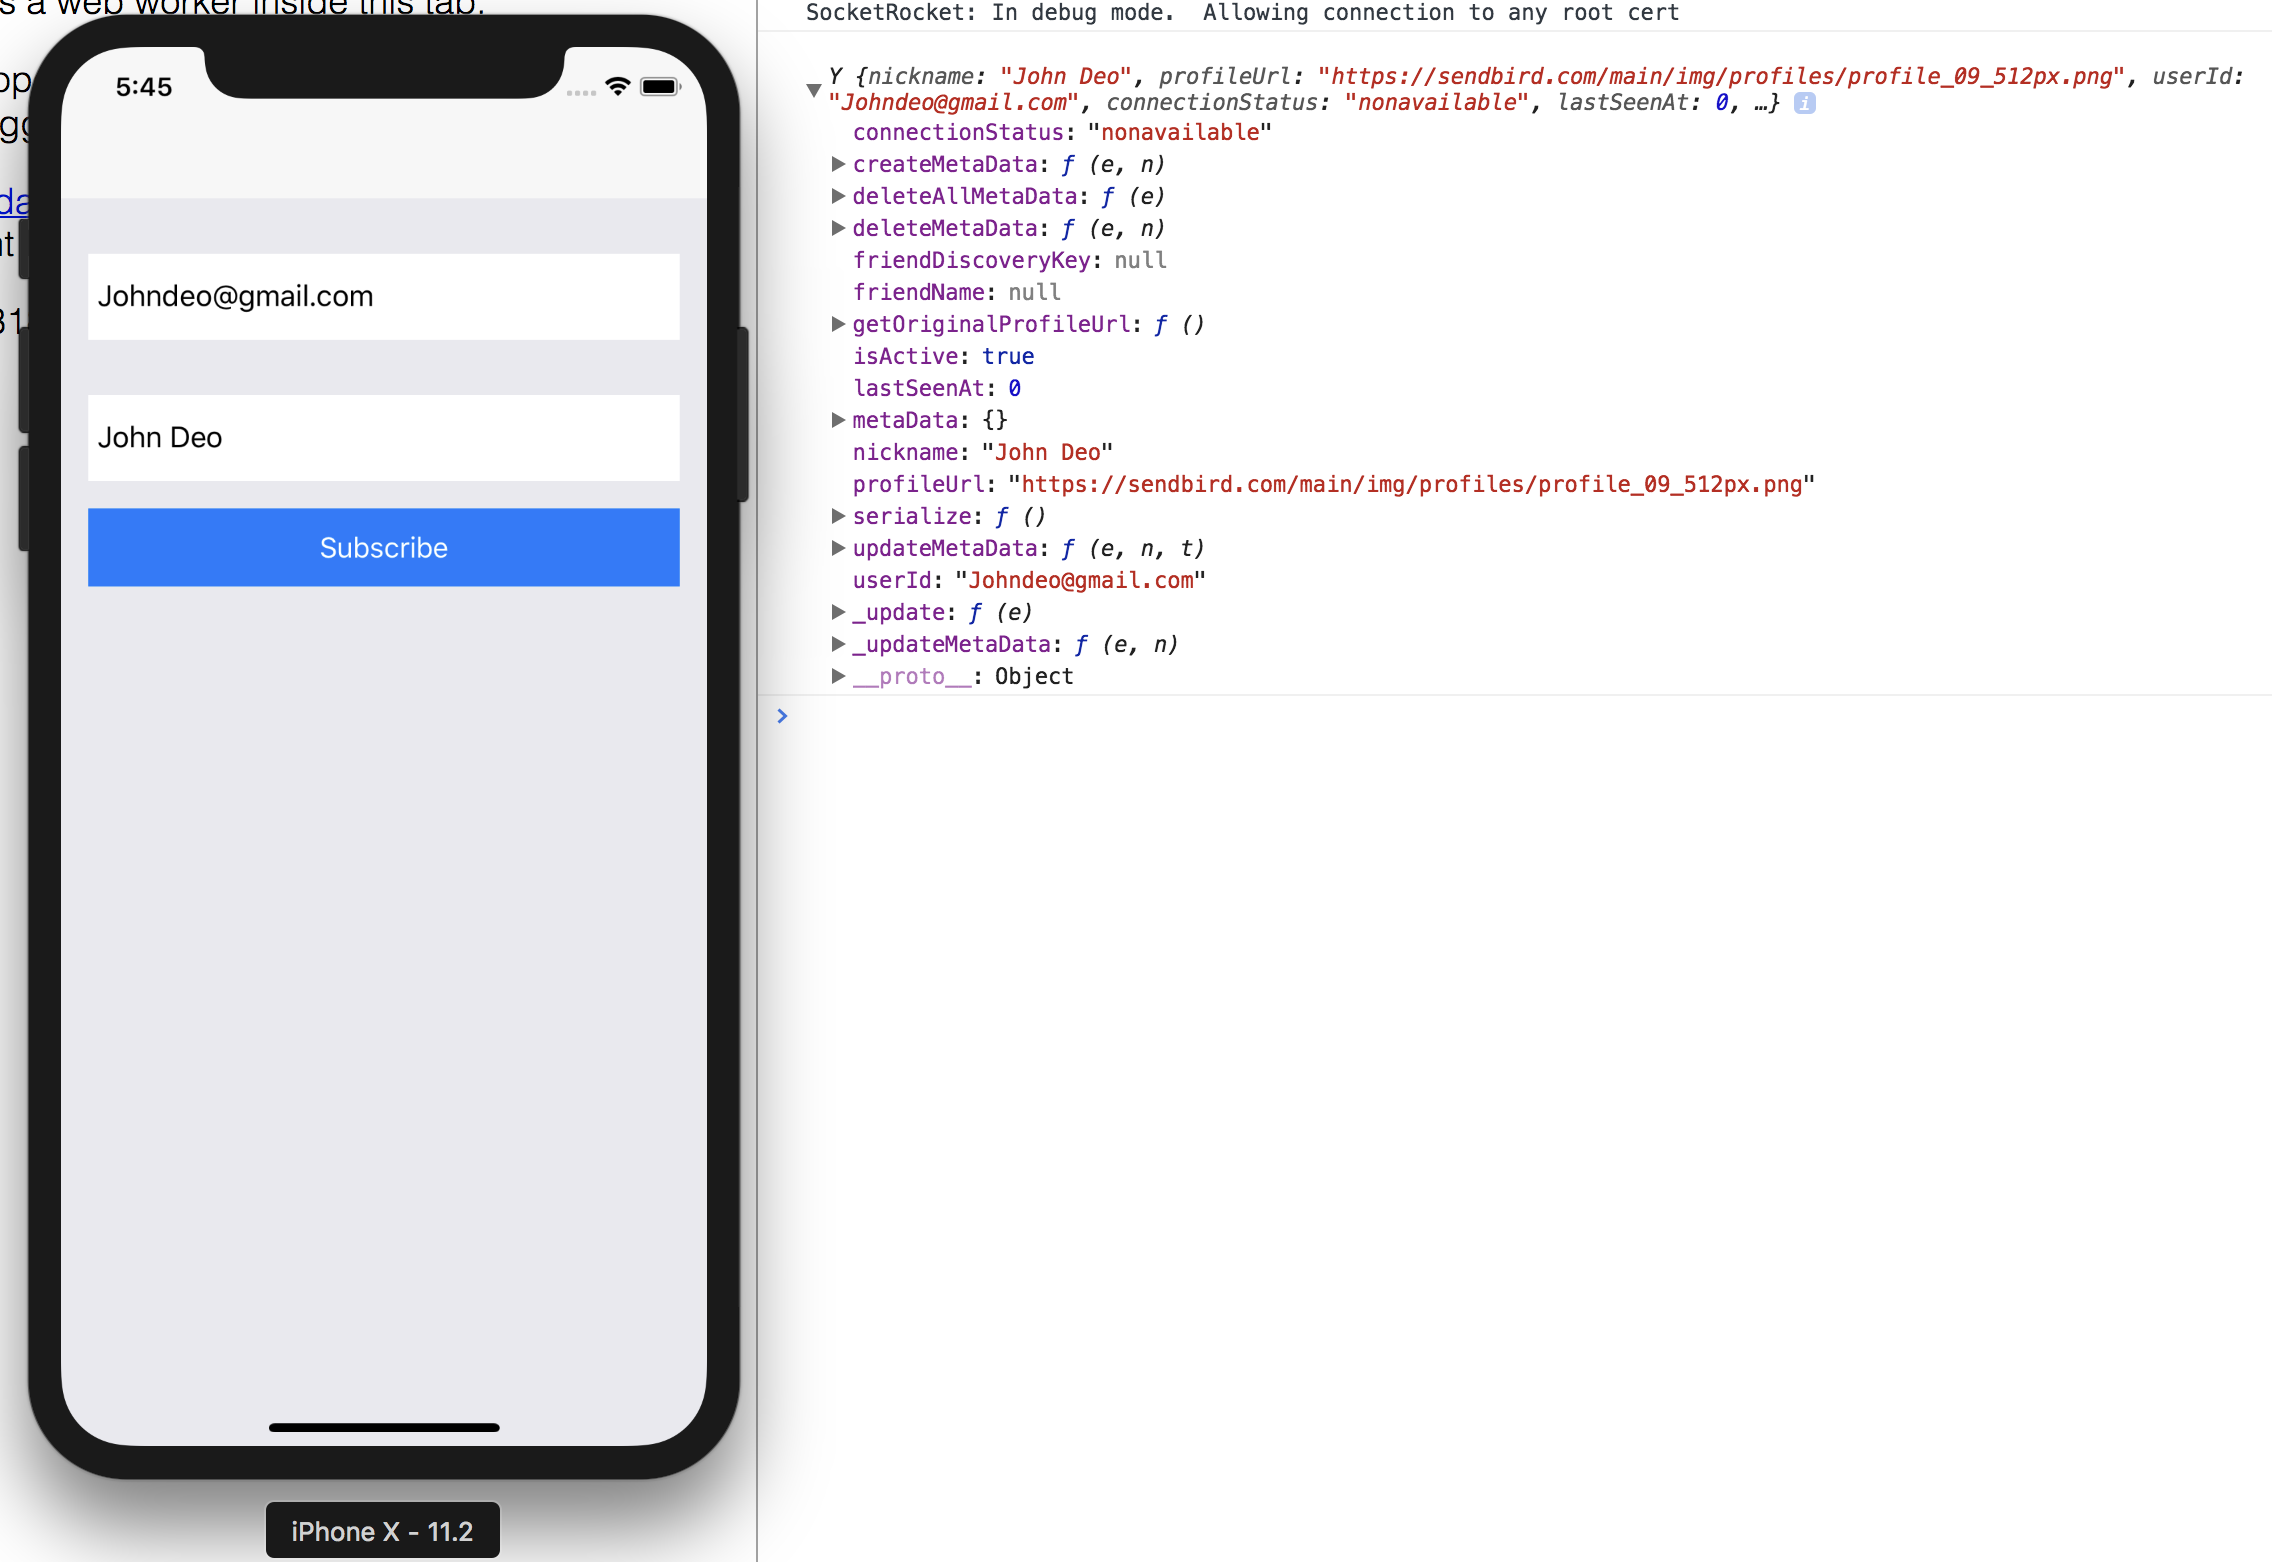
We are registered now! Let’s move on to the next step.
Join channel
All regisetred users can create or join channel which provides methods to easily send, fetch, and receive messages in real-time.
SendBird provides you with different types of channel:
- Open channel: Anyone may join and participate in the chat.
- Group channel: The user can join the chat only through an invitation. It could be a private channel among multiple users or between two users. Also, You can send files and custom data using files transfers.
In our app we will use a group channel.
import React, { Component } from 'react';

import { Container, Content, Text, Right, Body, Header, ListItem, List, Left, Thumbnail, Button } from 'native-base';

type Props = {};
export default class HomeScreen extends Component<Props> {
  render() {
    return (
      <Container>
        <Content>
          <List style={{ padding: 16 }}>
            {users.map(user => (
              <ListItem avatar key={user.id} style={{ padding: 16 }}>
                <Left>
                  <Thumbnail source={{ uri: user.profileUrl }} />
                </Left>
                <Body>
                  <Text>{user.name}</Text>
                  <Text note>Online</Text>
                </Body>
                <Button transparent onPress={() => this._joinChannel(user.userId)}>
                  <Text>chat</Text>
                </Button>
              </ListItem>
            ))}
          </List>
        </Content>
      </Container>
    );
  }
}
Here we listed some users which are already registered.
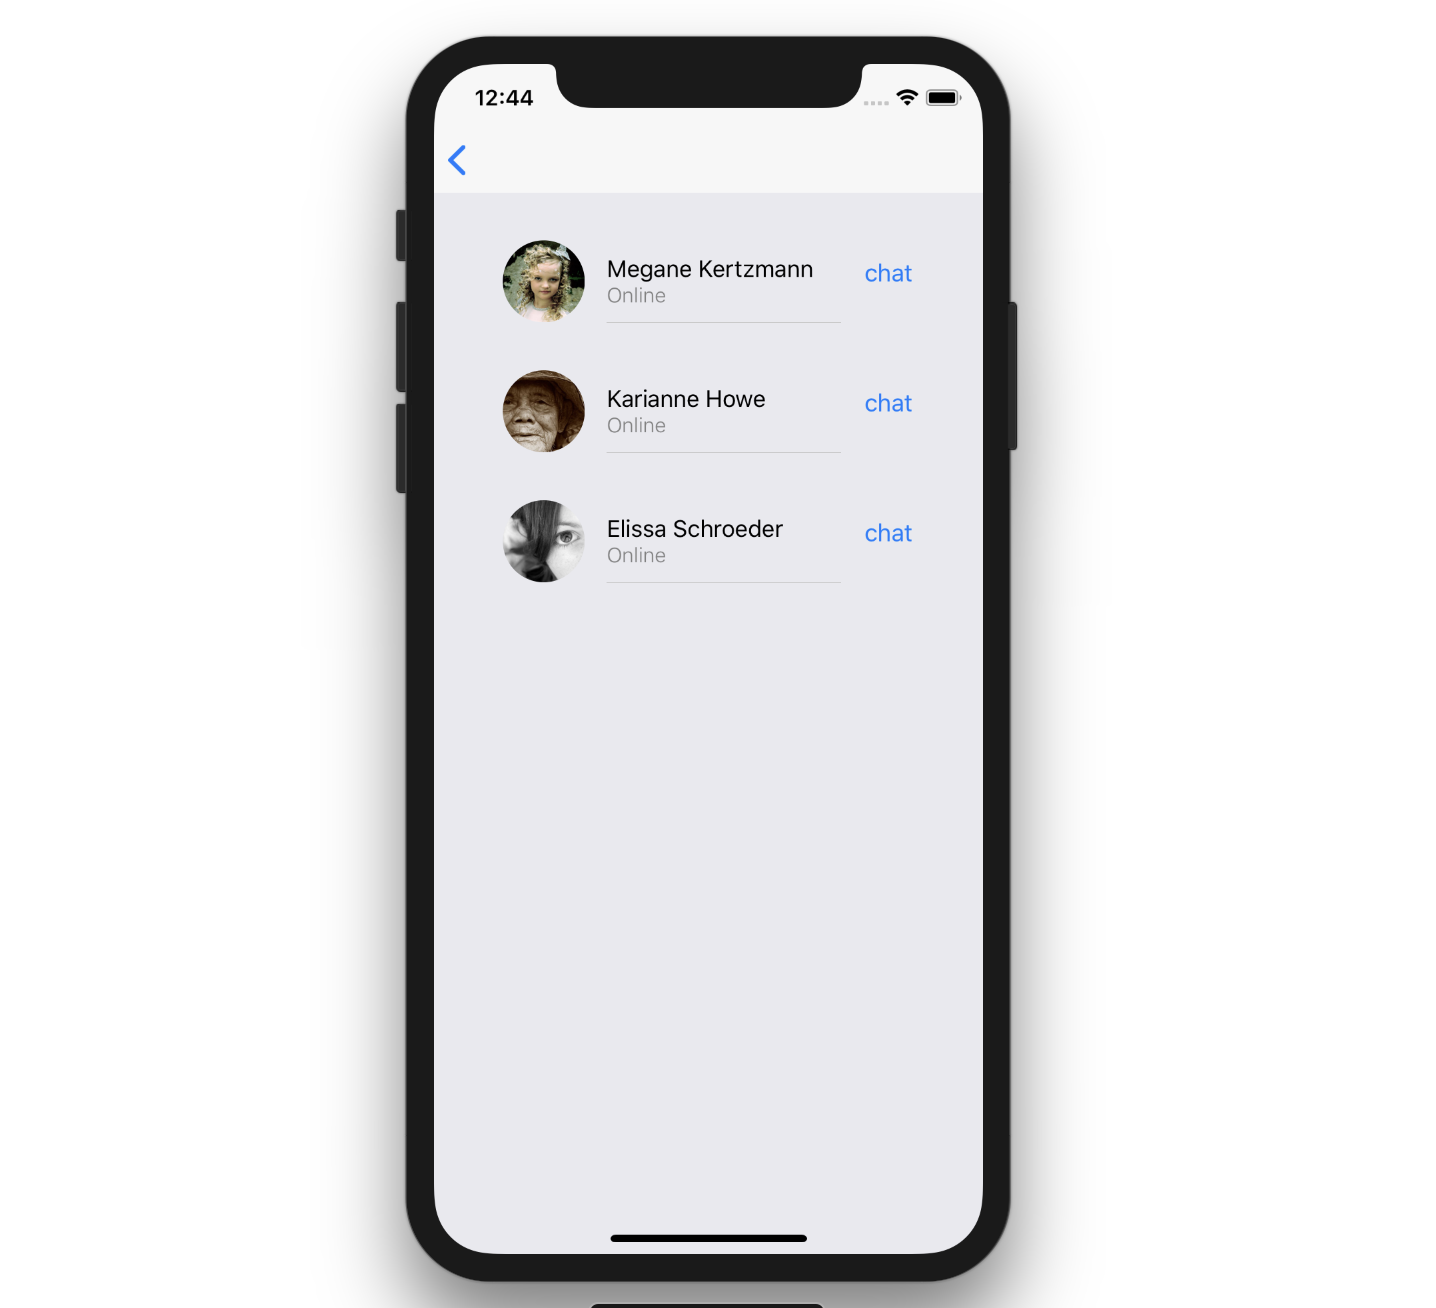
Let’s define our function joinChannel() in order to create a channel with two members (1-to-1 messaging).
 _joinChannel(receiverId) {
    const sb = SendBird.getInstance();
    const self = this;
    sb.GroupChannel.createChannelWithUserIds([receiverId],
      true, (createdChannel, error) => {
        if (error) {
          console.error(error);
        } else {
          self.props.navigation.navigate('Chat', { channel: createdChannel });
        }
    });
  }
- createChannelWithUserIds(): This function is called to create a new channel. You should pass two user IDs or your opponent ID. It aims at returning a plain JavaScript object describing the channel.
The best part about this is that you can pass information by passing additional arguments such as name, coverUrl, data, customType…
See SendBird Docs for more informations.
Let’s chat!
Now for the main dish, we’re going to create our chat room.
As a first step, we need to create a chat UI component.
In general, we can create our own chat UI our selves using simply React Native library. There are also several libraries dedicated to this matter. For example here, we used react-native-gifted-chat. While using this library can be useful, it may come with its own burden of integration and customization issues (feel free exploring the not-so-maintained source code behind it :) ).
import React, { Component } from 'react';
import { View } from 'react-native';
import { Container } from 'native-base';
import { GiftedChat, Bubble, LoadEarlier } from 'react-native-gifted-chat';
import SendBird from 'sendbird';
import styles from './chatScreen.css';
type Props = {};
export default class ChatScreen extends Component<Props> {
state = {
messages: [],
};
render() {
const bubble = props => <Bubble {...props} wrapperStyle={styles.wrapperStyles} />;
const composer = props => <Composer {...props} multiline textInputStyle={styles.composerStyles} />;
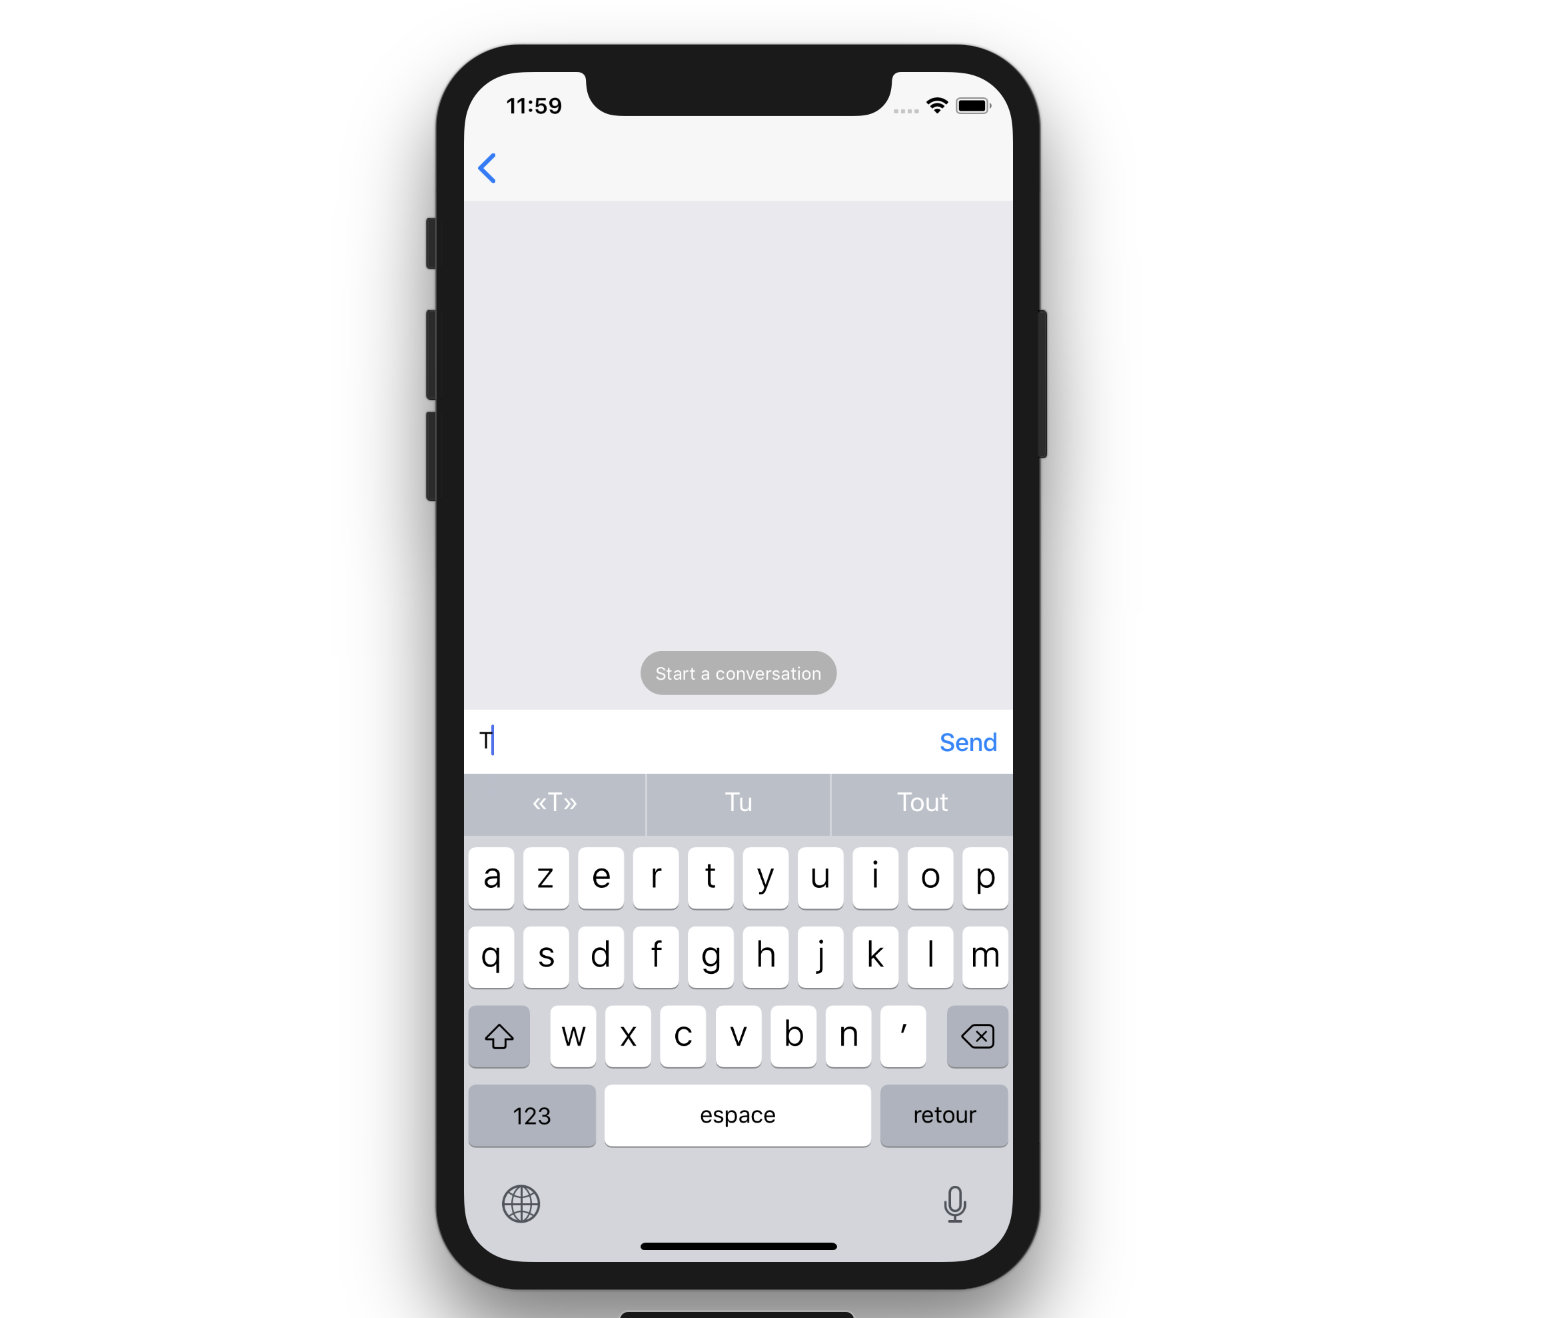
const loadEarlier = props => {
if (_.isEmpty(this.state.messages)) {
return <LoadEarlier {...props} label="Start a conversation" />;
}
return null;
};
return (
<Container>
<GiftedChat
messages={this.state.messages}
renderBubble={bubble}
loadEarlier
renderLoadEarlier={loadEarlier}
isAnimated
keyboardShouldPersistTaps="never"
onSend={messages => this.onSend(messages)}
user={{
_id: currentUser.userId,
avatar: currentUser.avatar,
}}
showUserAvatar
/>
</Container>
);
}
}
Our chat UI component is ready now!
At this stage, we are ready to send messages and load created conversations.
Let’s send our first message!
SendBird SDK provides you with methods to send messages in an entered channel such as sendUserMessage() and sendFileMessage().
- sendUserMessage(): Used to send text messages.
- sendFileMessage(): Used to send binary messages.
onSend(messages = []) {
  const handle = this;
  const sb  = SendBird.getInstance();
  const channel =  this.props.state.params.channel;
  this.setState((previousState) => {
    channel.sendUserMessage(messages[0].text, (response, error) => {
      if (!error) {
        // handle.getChannelMetaData(channel);
      }
    });
    return { messages: GiftedChat.append(previousState.messages, messages) };
  });
}
You could load a conversation by creating a query using createPreviousMessageListQuery(), this instance loads the most recent n messages.
Note: n is a fixed number used to query a set of n number of previous messages.
import React, { Component } from 'react';

import { Container } from 'native-base';

import SendBird from 'sendbird';

type Props = {};

export default class ChatScreen extends Component<Props> {
  state= {
     messages: [],
  }
  componentDidMount(){
    const { channel }  = this.props.navigation.state.params;
    this.getChannelMetaData(channel);
  }
  getChannelMetaData(channel) {
    if (channel) {
      const self = this;
      const messagesQuery = channel.createPreviousMessageListQuery();

      messagesQuery.load(50, true, (messages, error) => {
        if (error) {
          console.error(error);
        }
        this.setState({
          messages,
        });
      });
    }
    return;
  }
  render() {
    return (
      //some code
    );
  }
}
By providing its own event handlers, the SendBird SDK allows you to track events occurring within channels or devices such as typing, read receipts and more. It is highly advisable you walk the extra mile and discover what this rich SDK has to offer yet.
Learn more about SendBird Event Handler.
Conclusion
This post guides you through the preliminary steps of setting up SendBird in your own React Native app. I hope you found this article useful to kick off learning how to add real-time chat to your React Native app with speed and efficiency.
Feel free reaching out to us should you have any questions regarding the examples and code snippets above. I will try to share with you the sample project behind it shortly.
On a final note, keep in mind that if you have a super robust SDK, you don’t need to reinvent the wheel!
